Battery switch on travel trailer function is crucial for managing your RV’s power. Understanding how it works is key to preventing dead batteries and ensuring a smooth camping experience. This guide dives into the different types of switches, their functionalities, safe operation procedures, and troubleshooting tips to keep your travel trailer’s electrical system running smoothly.
We’ll cover everything from basic switch operation to advanced troubleshooting, including how to safely connect and disconnect batteries, identify common problems, and upgrade your system. Learn to confidently handle your travel trailer’s electrical system and enjoy worry-free adventures!
Battery Switch Types in Travel Trailers
Choosing the right battery switch for your travel trailer is crucial for managing your power sources and preventing electrical issues. Different types offer varying levels of control and protection. Understanding their differences will help you select the best option for your needs and budget.
Single-Pole Battery Switches
Single-pole battery switches are the simplest type. They offer a single on/off function, connecting or disconnecting one battery to the trailer’s electrical system. This is suitable for trailers with a single battery. They’re inexpensive and easy to install, making them a popular choice for basic setups. However, they lack the ability to isolate batteries for charging or switching between batteries.
Double-Pole Battery Switches
Double-pole switches provide more control than single-pole switches. They allow you to connect or disconnect two separate batteries to the trailer’s electrical system independently. This is useful if you have two batteries, perhaps one for house power and another for starting your vehicle. Each battery can be individually connected or disconnected, offering better control over power distribution.
This type also provides slightly better protection from accidental short circuits compared to single-pole switches.
Double-Pole Double-Throw (DPDT) Battery Switches, Battery switch on travel trailer function
DPDT switches are the most sophisticated type. They allow you to switch between two batteries, or combine them for increased power. This means you can choose to run your trailer on one battery, the other, or both simultaneously. This flexibility is advantageous for longer trips or when high power demands are expected. However, these switches are more complex and therefore more expensive than single-pole or double-pole switches.
They also require more wiring and a higher level of understanding for installation.
Comparison of Battery Switch Types
| Feature | Single-Pole | Double-Pole | Double-Pole Double-Throw (DPDT) |
|---|---|---|---|
| Number of Batteries Controlled | One | Two (independent control) | Two (selectable, combinable) |
| Isolation Capability | No | Yes (for each battery) | Yes, plus combined operation |
| Complexity | Low | Medium | High |
| Cost | Low | Medium | High |
| Applications | Single battery systems | Dual battery systems (independent use) | Dual battery systems (flexible use, high power demands) |
Troubleshooting Battery Switch Issues: Battery Switch On Travel Trailer Function
Your travel trailer’s battery switch is crucial for managing power, and problems with it can leave you stranded. Fortunately, most issues are relatively easy to diagnose and fix with some basic troubleshooting. This section will guide you through identifying and resolving common problems.Troubleshooting a malfunctioning battery switch involves systematically checking various components to pinpoint the source of the issue.
This process helps avoid unnecessary repairs and ensures you get back on the road quickly.
Common Battery Switch Problems
Several issues can cause your battery switch to malfunction. These range from simple loose connections to more serious internal switch failures. Understanding these possibilities will aid in efficient troubleshooting.
- Faulty Switch: The switch itself might be internally damaged, preventing proper electrical contact. This often results in no power to the trailer’s systems, regardless of the switch position.
- Loose Connections: Loose wires or corroded terminals at the switch or battery connections are common culprits. A loose connection creates intermittent power or a complete loss of power.
- Corroded Terminals: Corrosion builds up on battery terminals and switch connections over time, hindering the flow of electricity. This often presents as weak or intermittent power.
- Blown Fuse: While not directly related to the switch itself, a blown fuse in the battery switch circuit will prevent power from reaching the trailer’s systems. This is a quick check to rule out a simple fix.
Troubleshooting Methods
A systematic approach is key to efficient troubleshooting. Begin with the simplest checks and progress to more complex ones if necessary. Always disconnect the negative battery terminal before working on any electrical components.
- Visual Inspection: Start by visually inspecting the battery switch, its connections, and the battery terminals themselves. Look for loose wires, corrosion, or any signs of physical damage. Tighten any loose connections you find.
- Check for Corrosion: Clean any corroded terminals with a wire brush and baking soda solution. Apply a corrosion inhibitor to prevent future corrosion.
- Test for Continuity: Use a multimeter to test the continuity of the switch and its wiring. This will confirm if the switch is making proper contact. A lack of continuity indicates a faulty switch or a break in the wiring.
- Fuse Check: Inspect the fuse(s) associated with the battery switch. Replace any blown fuses with fuses of the same rating.
- Voltage Measurement: Use a multimeter to measure the voltage at various points in the circuit. This helps determine where the power is being lost. Compare the voltage at the battery terminals to the voltage at the output of the switch. A significant voltage drop indicates a problem in the switch or its wiring.
Troubleshooting Flowchart
Imagine a flowchart with the following steps:
1. Start
Begin by visually inspecting the battery switch and connections for loose wires or corrosion.
2. Loose Connections/Corrosion?
If yes, tighten connections and clean corrosion. If no, proceed to step
3. 3. Check Fuse
Inspect the fuse(s) for the battery switch circuit. Replace any blown fuses.
4. Test Switch Continuity
Use a multimeter to check for continuity across the switch.
So, you’re an audiophile who loves to travel? Awesome! Make sure you check out this guide for the perfect audiophile travel setup before you go. It’ll help you keep your tunes crisp on the go. And don’t forget the essentials – travel insurance is a must! Get a quote from Aon travel insurance to protect your trip and your gear.
Peace of mind is priceless, especially when you’re carrying around expensive headphones!
5. Continuity OK?
If yes, check voltage at the switch input and output. If no, replace the switch.
6. Voltage Drop?
If yes, trace wiring for breaks or further corrosion. If no, the problem is elsewhere in the trailer’s electrical system.
7. End
Problem resolved or requires further investigation.This flowchart provides a visual representation of the systematic troubleshooting process. Each step guides you to the next, helping you isolate the problem efficiently. Remember to always disconnect the negative battery terminal before performing any tests.
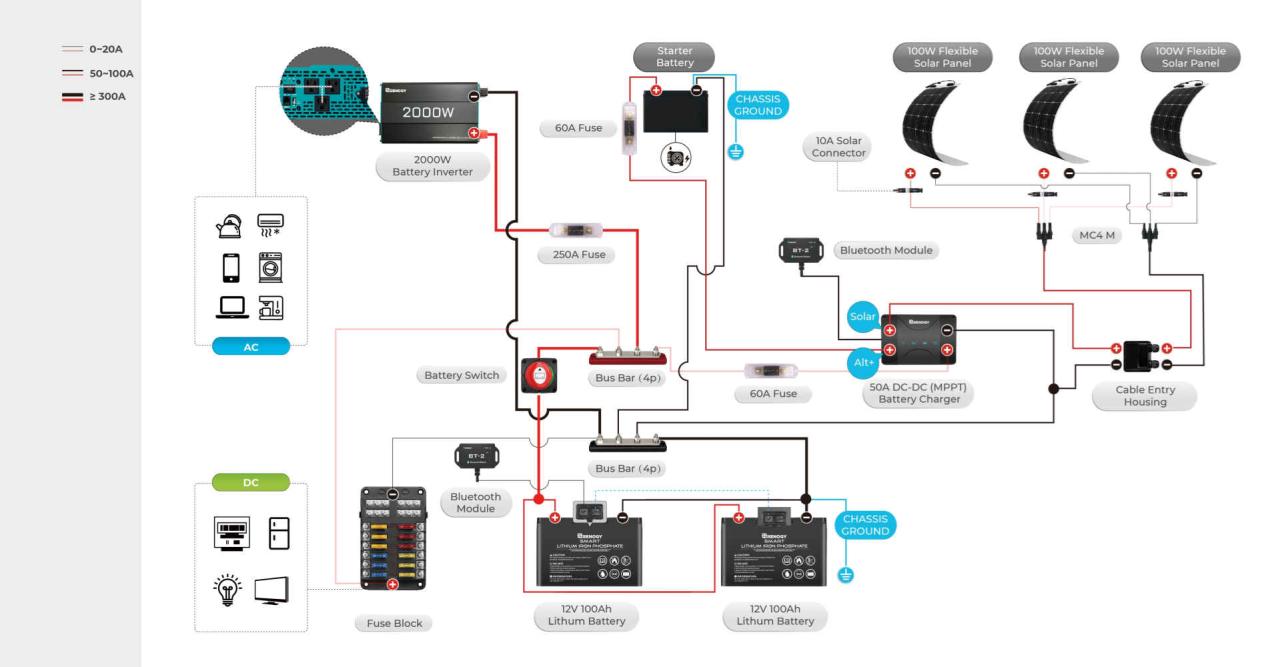
Battery Switch and Electrical System Integration
The battery switch in your travel trailer isn’t just an on/off switch; it’s a crucial component that manages the flow of power between your batteries and the rest of your electrical system. Understanding its interaction with other parts is key to ensuring reliable power and preventing problems. This section will explain how the battery switch works with your converter, inverter, and solar panels to provide power throughout your RV.The battery switch acts as the central control point for your trailer’s DC power.
It determines which batteries (or battery bank) are connected to the rest of the electrical system, allowing you to choose between using your house batteries, your chassis battery (if applicable), or both. This control is vital for preventing unwanted battery drain and ensuring you have power when you need it. Different configurations are possible depending on your trailer’s setup.
Battery Switch Connections and Component Functions
A simplified diagram can illustrate the connections: Imagine a central point representing the battery switch. From this point, several lines extend to other components.
The battery switch itself is simply a multi-position switch that connects and disconnects various battery banks to the main power distribution system. It usually has positions for “off,” “house batteries,” “chassis battery,” and sometimes “both.”
The converter transforms AC power from your campsite hookup (or generator) into DC power to charge your house batteries.
The inverter converts DC power from your batteries into AC power for running household appliances that require AC power.
Solar panels generate DC power from sunlight, which is then typically routed through a charge controller before reaching your batteries.
| Component | Relationship to Battery Switch | Function |
|---|---|---|
| House Batteries | Directly connected; switch controls whether they supply power to the trailer | Provide DC power for lights, appliances, and other 12V systems. |
| Chassis Battery | Connected through the switch (if applicable); usually independent of house battery power | Powers the vehicle’s starting system and some chassis-mounted accessories. |
| Converter | Receives power from the battery switch (when batteries are selected) and supplies power to the batteries | Converts AC to DC to charge the house batteries. |
| Inverter | Draws power from the battery switch (when batteries are selected) | Converts DC to AC to power AC appliances. |
| Solar Panels | Indirectly connected through a charge controller; the charge controller manages the flow of solar power to the batteries. The battery switch controls the use of power
|
Generate DC power from sunlight, which is used to charge the house batteries. |
Battery Switch Safety Precautions
Working with your travel trailer’s battery system requires careful attention to safety. Improper handling can lead to serious injury from electrical shock, burns from battery acid, or even explosions. Following these precautions will significantly reduce your risk.Battery acid is highly corrosive and can cause severe burns to skin and eyes. Electrical systems carry potentially lethal voltages.
So, you’re an audiophile who loves to travel? Awesome! Make sure you check out this guide on creating the perfect audiophile travel setup before you go. It’ll help you enjoy your favorite tunes on the road. And don’t forget the practical stuff; getting Aon travel insurance is a must for peace of mind, protecting your valuable gear and yourself from unexpected events.
Having both sorted will ensure a truly amazing trip!
Always approach battery maintenance and switch operation with respect for these hazards. The following steps will help ensure a safe experience.
Personal Protective Equipment (PPE)
Appropriate PPE is crucial when working around batteries. This includes safety glasses or a face shield to protect your eyes from splashes of battery acid, rubber gloves to protect your hands from corrosion and electrical shock, and closed-toe shoes to protect your feet. Consider wearing long sleeves and pants to cover exposed skin. Never work on batteries or electrical systems while wearing jewelry, as it could conduct electricity and cause burns or injury.
Handling Battery Acid
Battery acid (sulfuric acid) is extremely corrosive. Always have baking soda and water on hand to neutralize any spills. In case of a spill, immediately flush the affected area with plenty of water. If acid comes into contact with your skin or eyes, immediately rinse thoroughly with water for at least 15 minutes and seek medical attention.
Neutralize spills with baking soda before cleaning them up. Never mix battery acid with other chemicals, as this can create dangerous fumes or reactions. Proper ventilation is essential when working with batteries to dissipate any potentially harmful gases.
Avoiding Electrical Shocks
Before working on any electrical component, including the battery switch, always disconnect the negative (-) battery terminal first. This prevents accidental shorts and reduces the risk of electrical shock. When working on the switch itself, ensure that the power is completely off. Use insulated tools to avoid accidental contact with live wires. If you are unsure about any aspect of the electrical system, consult a qualified electrician.
Never attempt repairs if you are not comfortable with the task. Remember, even seemingly low voltages can be dangerous.
Battery Handling and Storage
Batteries produce flammable hydrogen gas. Avoid sparks or flames near batteries. Ensure proper ventilation to prevent the buildup of hydrogen gas. Never attempt to charge a frozen battery, as this can cause damage or explosion. Store batteries upright in a cool, dry, well-ventilated area, away from flammable materials.
When transporting batteries, secure them properly to prevent shifting and damage.
Emergency Procedures
In case of an accident involving battery acid or an electrical shock, immediately seek medical attention. If a fire occurs, use a Class B fire extinguisher (suitable for flammable liquids) and call emergency services. Familiarize yourself with your travel trailer’s emergency procedures and the location of safety equipment before embarking on any work involving the battery system.
Upgrading or Replacing a Battery Switch
Upgrading or replacing your travel trailer’s battery switch can significantly improve your electrical system’s performance and reliability. A worn-out or inadequate switch can lead to poor connections, voltage drops, and even fire hazards. This section details the process of selecting and installing a new switch, ensuring a safe and efficient power supply for your RV.Choosing the right replacement involves considering several factors beyond just amperage.
You’ll need to match the switch’s physical dimensions to the existing mounting location and ensure it’s compatible with your battery type and the overall electrical system. Proper selection prevents compatibility issues and ensures safe operation.
Selecting a Suitable Replacement Switch
The selection process begins with determining the amperage rating of your current switch. This information is usually printed on the switch itself. Your replacement should have at least the same amperage rating, and ideally, a slightly higher rating to accommodate potential future upgrades or increased power demands. Consider the total amperage draw of all devices connected to your battery bank.
For instance, if your appliances and accessories collectively draw 100 amps, a 100-amp switch is insufficient; a 150-amp switch would provide a safety margin. Additionally, check the physical dimensions of the existing switch to ensure the replacement will fit correctly in the existing mounting location. Look for switches with clear markings, robust construction, and features like positive engagement mechanisms to prevent accidental disconnections.
Finally, consider features like a built-in circuit breaker for added safety. For example, if your current switch is a simple on/off switch, upgrading to one with an integrated breaker would improve safety by preventing overloads.
Tools and Materials Needed for Replacement
Before starting the replacement, gather all necessary tools and materials. This ensures a smooth and efficient process. Improper tools can lead to damage or injury.
- New battery switch with appropriate amperage rating and physical dimensions.
- Wrench or socket set that fits the battery terminal nuts and bolts.
- Screwdrivers (Phillips and flathead) to remove the existing switch and secure the new one.
- Wire cutters/strippers to prepare the battery cables if needed.
- Electrical tape or heat-shrink tubing to insulate connections.
- Multimeter to test the continuity and voltage after installation (optional but recommended).
- Safety glasses and gloves to protect yourself during the process.
Installation Steps
The installation process requires careful attention to detail and safety. Incorrect wiring can lead to electrical shorts or damage to your electrical system.
- Disconnect the negative battery cable first. This is crucial for safety to prevent accidental shorts and injury.
- Carefully remove the existing battery switch, noting the wiring configuration before disconnecting any wires.
- Install the new switch, ensuring the wiring is correctly connected according to the wiring diagram provided with the new switch.
- Reconnect the battery cables, ensuring the negative cable is connected last.
- Test the switch to verify proper operation. Use a multimeter to check for proper voltage and continuity.
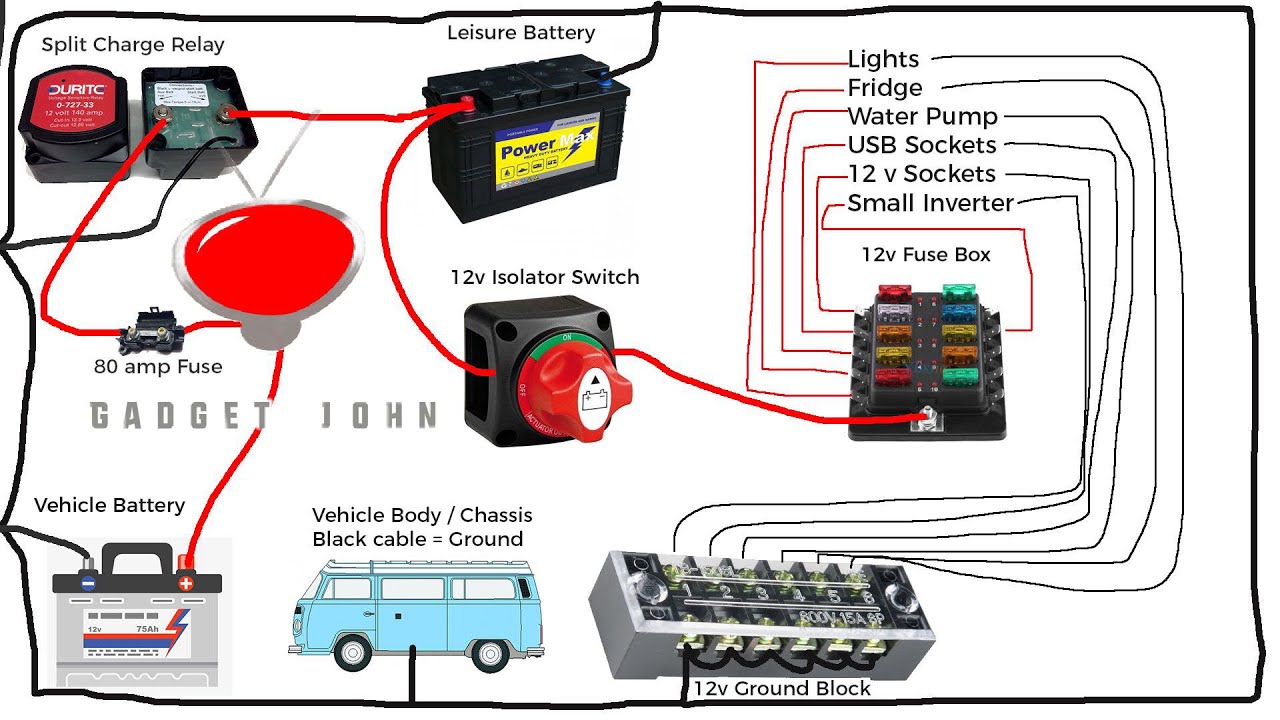
Battery Switch and Different Battery Configurations
Your travel trailer’s battery switch plays a crucial role, especially when you have multiple batteries. Understanding how it interacts with different battery setups is essential for maximizing your power system’s efficiency and reliability. This section will explore how your battery switch functions with various battery configurations, highlighting the advantages and disadvantages of each. We’ll also illustrate these configurations with simplified wiring diagrams.
The primary function of a battery switch is to isolate or connect batteries to the trailer’s electrical system. This allows you to select which battery (or batteries) are providing power, and also to disconnect them completely for safety or storage. How this works depends heavily on the number and arrangement of your batteries.
Single Battery Configuration
A single battery setup is the simplest. Your battery switch will typically have a position to connect the battery to the trailer’s electrical system, and another to disconnect it completely. This is ideal for smaller trailers with lower power demands.
|
Diagram: Single Battery Setup |
Dual Batteries in Parallel Configuration
With dual batteries wired in parallel, both batteries provide power simultaneously, effectively doubling your available amperage-hours. This extends your runtime for appliances and devices. The battery switch will control the flow of power from both batteries to the trailer’s system. This configuration is beneficial for longer trips or higher power consumption.
|
Diagram: Dual Batteries in Parallel |
Dual Batteries in Series Configuration
Connecting two batteries in series doubles the voltage (typically from 12V to 24V). This is less common in travel trailers but might be used for specific high-voltage appliances or systems. The battery switch would manage the 24V supply, requiring a switch and wiring capable of handling the higher voltage. This configuration is usually not necessary for standard RV use.
|
Diagram: Dual Batteries in Series |
Advantages and Disadvantages of Different Configurations
Choosing the right battery configuration depends on your specific needs and trailer setup. Consider these points:
| Configuration | Advantages | Disadvantages |
|---|---|---|
| Single Battery | Simple, cost-effective | Limited runtime, lower capacity |
| Dual Batteries in Parallel | Increased runtime, higher capacity | Slightly more complex wiring |
| Dual Batteries in Series | Higher voltage for specialized appliances | Requires higher voltage components, less common in RVs |
Mastering your travel trailer’s battery switch is a vital skill for any RVer. By understanding its function, performing regular maintenance, and knowing how to troubleshoot problems, you can ensure reliable power for all your adventures. Remember safety first – always disconnect your batteries before working on the electrical system. Happy travels!
User Queries
What happens if my battery switch is left in the “off” position?
Leaving the switch off completely disconnects your house batteries from the charging system and any appliances. This prevents battery drain but also means you won’t have power to anything connected to your house batteries.
Can I use any type of battery switch in my travel trailer?
No, the correct amperage rating is crucial. Using a switch with an insufficient amperage rating can lead to overheating and potential fire hazards. Always choose a switch rated for the amperage of your battery bank.
How often should I check my battery connections?
Check your battery connections at least every few months, or more often if you notice any signs of corrosion. Regular cleaning and tightening will extend the life of your batteries and connections.
My battery switch is making clicking noises. What’s wrong?
Clicking noises often indicate a faulty switch, loose connections, or low battery voltage. Inspect connections for corrosion and tightness. If the problem persists, replace the switch.
